Most teams don't have a work-intake problem inside their project tool. They have one outside it. Requests show up in email threads, Slack DMs, hallway conversations, and "quick asks" at the end of meetings – and someone has to copy each one into a task before it can be tracked. The ones that don't get copied quietly disappear.
Web Forms close that gap. You create a simple form attached to a Redbooth workspace, share the link (or embed it on a web page), and every submission becomes a task in the list you choose – already titled, already described, and optionally already assigned. The people submitting requests don't need a Redbooth account, so you can hand the form to clients, customers, or colleagues in other departments without having to add seats.
Web Forms are included in the Business and Enterprise plans.
How Web Forms Work
A Web Form lives inside a workspace and maps directly onto a task:
- The short-answer field (e.g., Subject) becomes the task title.
- The larger details field becomes the task description.
- The task list you pick is where every new submission lands – an Inbox list for triage works well.
- The assignee is optional – route every submission to one person automatically, or leave it unassigned for manual triage.
That's it. Requesters get a simple form that asks exactly what you need to know, and your team gets a ready-to-work task in the workspace they already live in – no copying, no forwarding, no follow-up emails.
Setting Up Your First Form
It takes a couple of minutes from a workspace you already have. In the example below, Pixel Studios, a fictional design agency, builds a Design Request form for its clients.
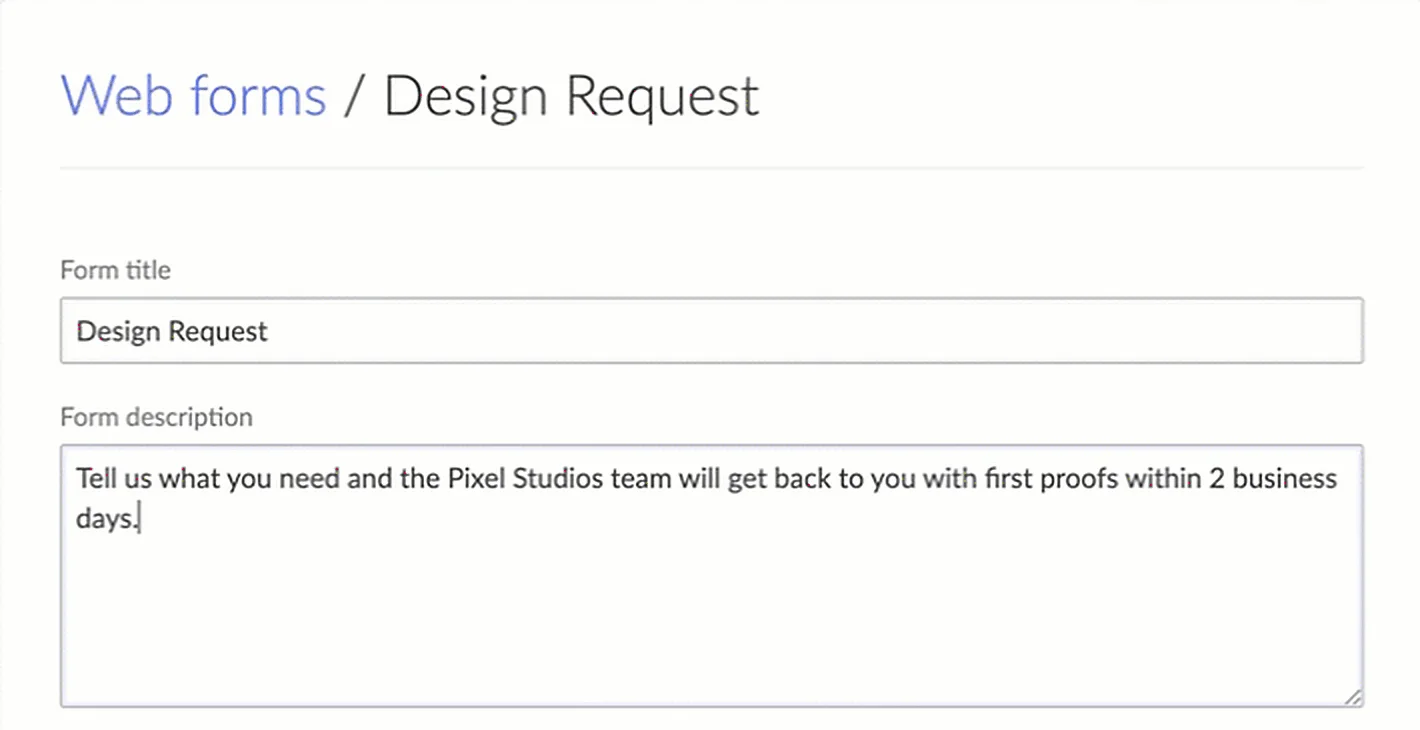
1. Name the form and tell people what it's for
Open the workspace where submissions should be collected and click the Settings (⚙) icon → Web Forms. Create a new form and give it a Form title – this is the heading submitters see – and a Form description that sets expectations.
2. Speak your requester's language, and decide where tasks land
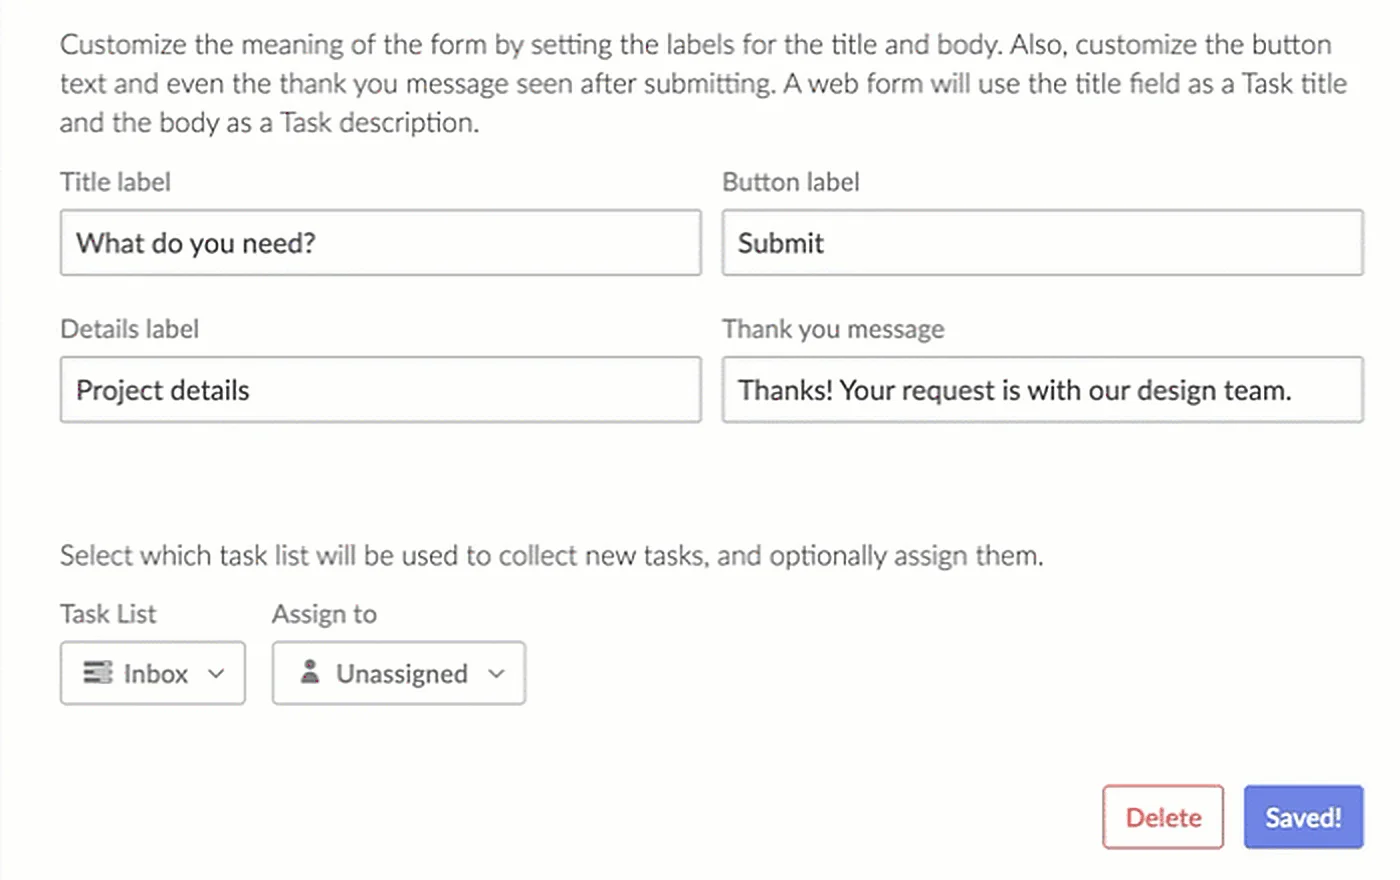
Next, customize the labels – the Title label (the required short-answer field that becomes the task title), the Details label (the larger text area that becomes the task description), the Button label, and the Thank you message. Then choose the Task List that receives new submissions and, optionally, a team member to Assign to. Click Save.
3. Share the link or embed the form
Once saved, the form gets a public link and an iframe embed code. Anyone with the link can submit a request – no Redbooth account needed.
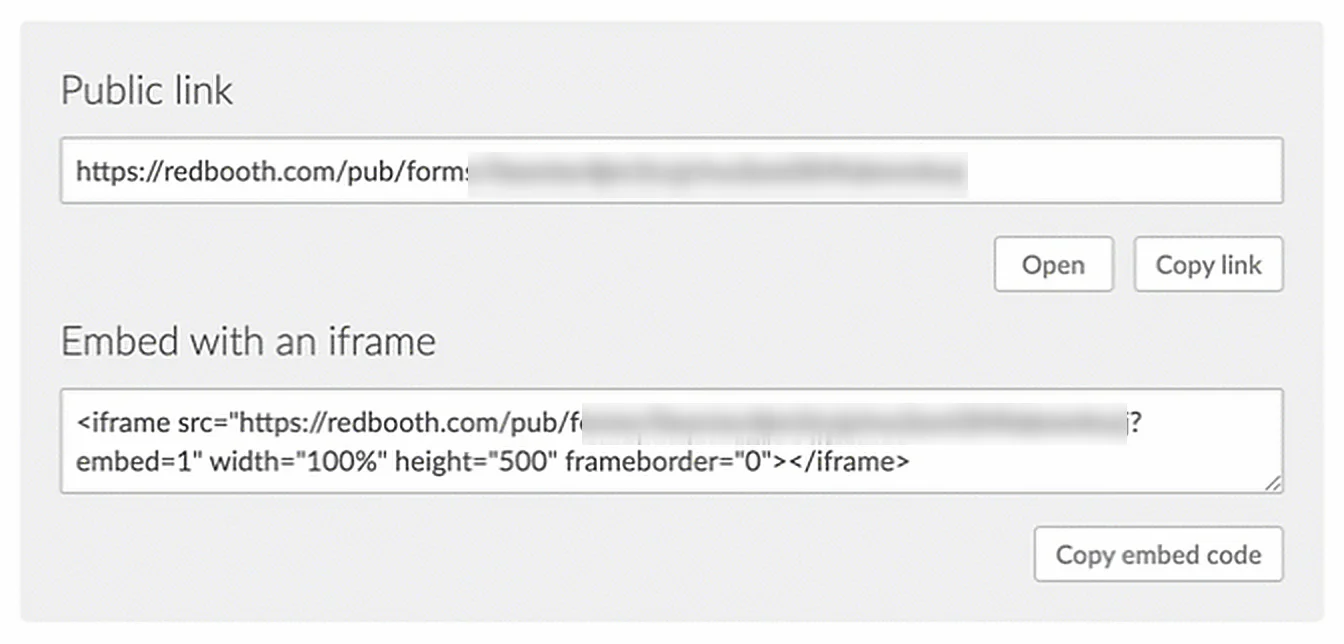
- Share the link directly – send it by email, pin it in Slack, or add it to a support ticket reply so every request gets captured in the right workspace.
- Embed it in a web page – click Copy embed code and paste the snippet into
your page's HTML, adjusting
widthandheightto fit.
To change a form later, open it from Web Forms, edit, and click Save. If you delete it, the link stops working – but every task created from past submissions stays in your workspace.
From Request to Task
Here's what happens when one of Pixel Studios' clients actually uses the form.
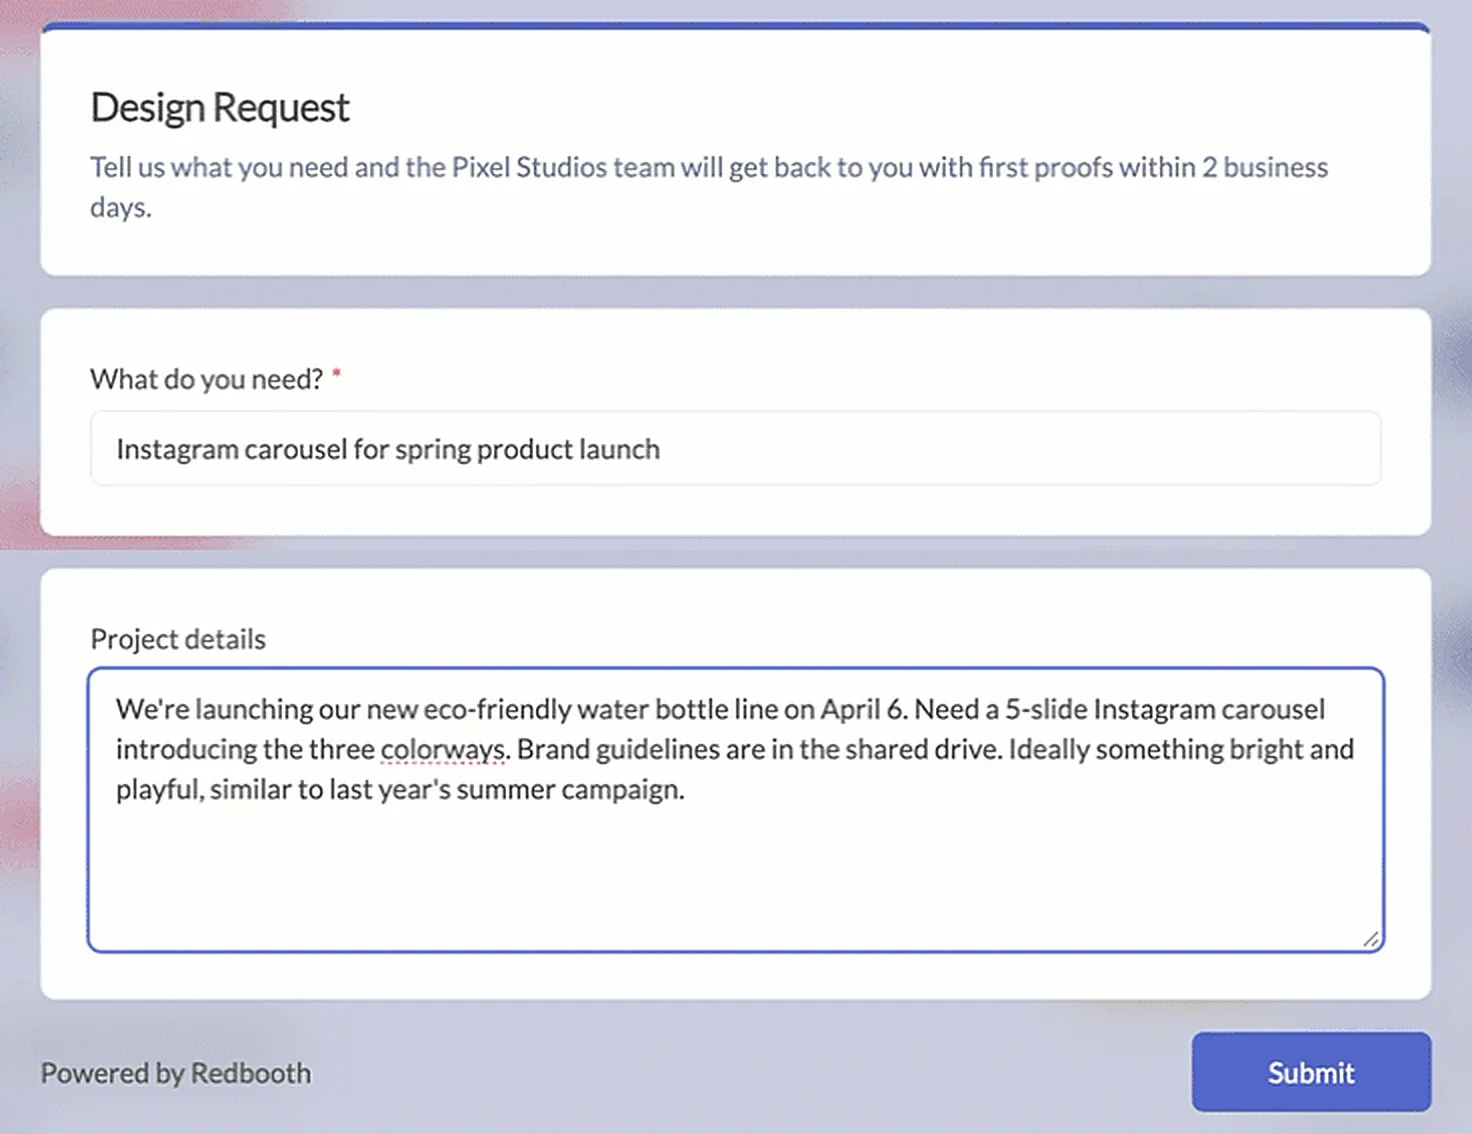
The requester fills out a clean, simple form
No login screen, no account creation, no project tool to learn. The client sees your title, your description, and the fields you labeled – nothing else.
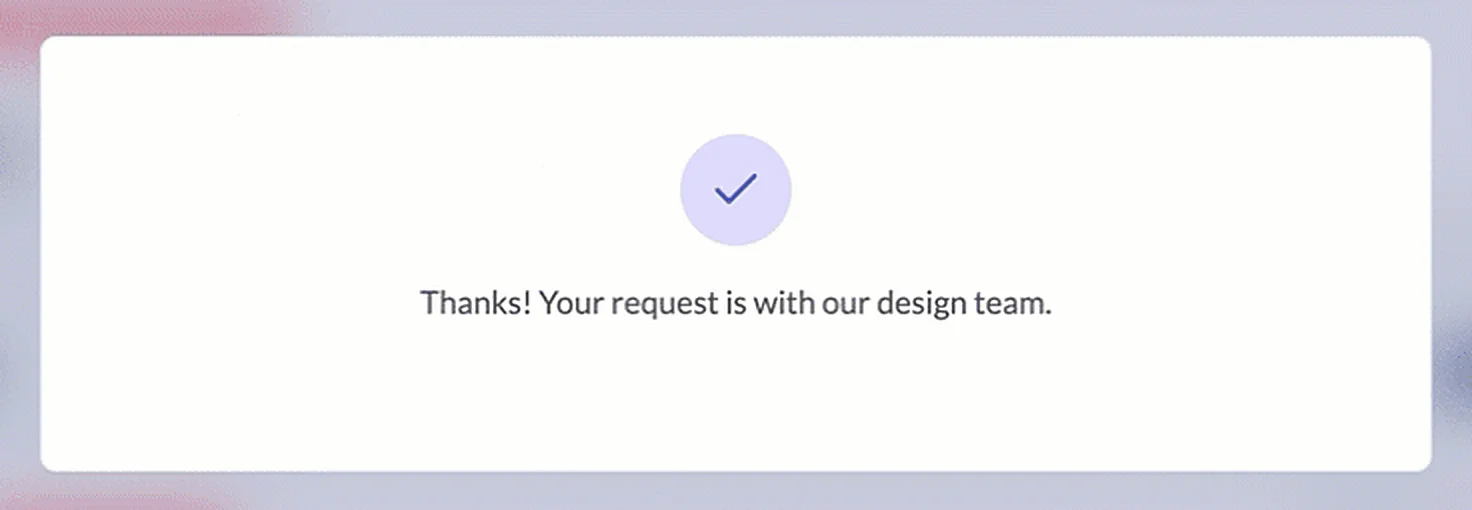
They get instant confirmation
After clicking Submit, the requester sees your thank-you message.
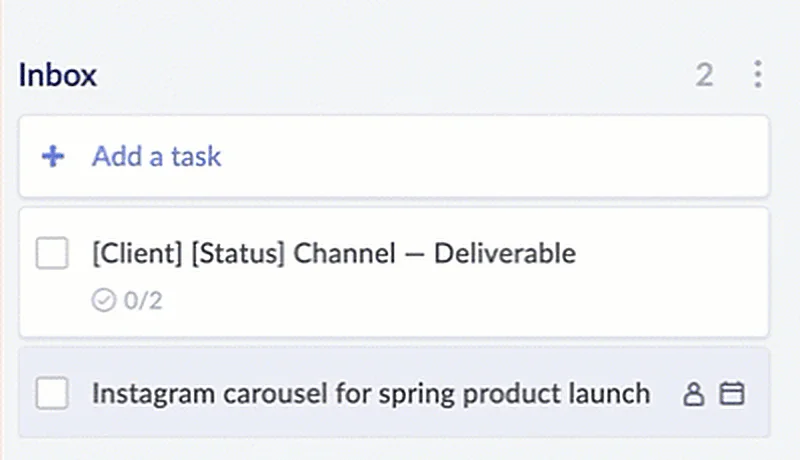
The request shows up in your Inbox list, right away
The moment the requester hits submit, a new task appears in the list you chose – no copying, no forwarding, no manual entry. It's ready to triage alongside the rest of your team's work.
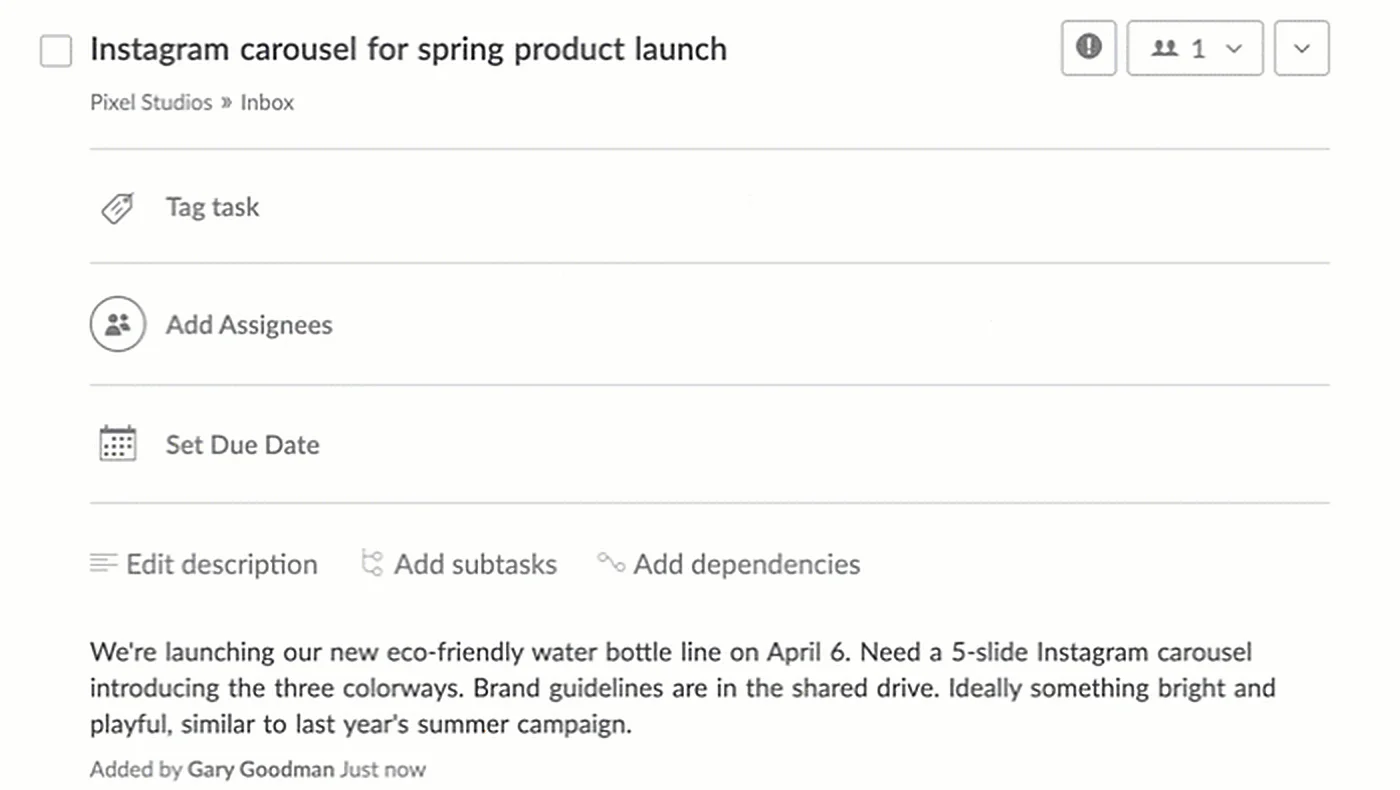
And the full brief is already in the task
Open the task and the requester's details are there as the description, ready for your team to tag, assign, set a due date, break into subtasks, or discuss in comments. The brief never has to be retyped, and nothing gets lost between the inbox and the project.
Give It a Try
Pick the workspace that gets the most "quick asks," open Settings → Web Forms, and have a form live in a few minutes. For the full step-by-step guide, see Create Tasks From Web Forms in our Help Center.
If you find a creative use for Web Forms, we'd love to hear about it – that feedback shapes what we build next.